Capture the Windows 11 Experience with Ease – Take Screenshots Like a Pro
- 418

Screenshots are an essential part of our digital lives, whether you’re sharing a funny meme with friends or trying to troubleshoot a technical issue. Taking screenshots in Windows 11 is easy and allows for a variety of methods that can help you capture exactly what you need. Read on to learn the best ways to take screenshots in Windows 11!
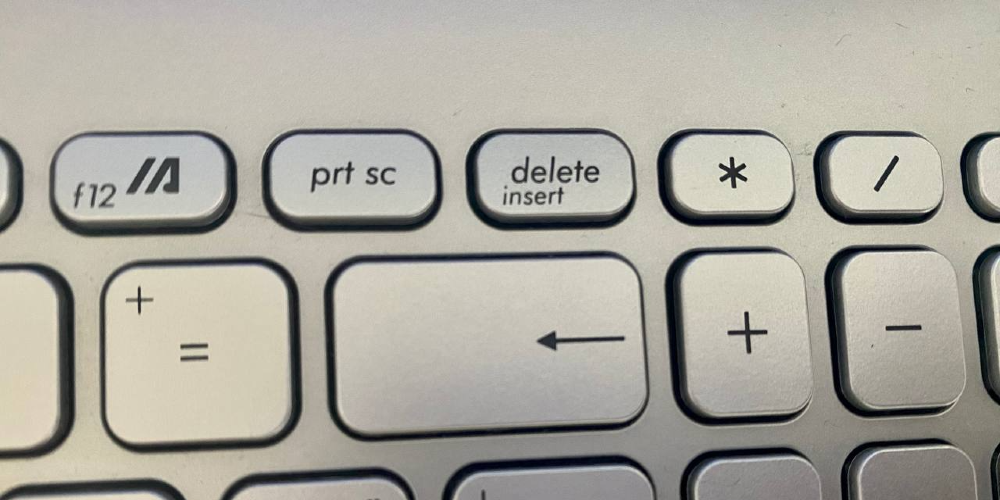
1. Use the PrtSc (Print Screen) Key and Paste
This is an old-school method, but it still works like a charm on Windows 11 systems. Simply press the “PrtSc” key on your keyboard to copy whatever is currently displayed on your screen into your clipboard. You can then paste this image into any program that accepts images, such as Microsoft Paint or other photo editing software, by pressing the “Ctrl + V” keys together at once.
2. Use the PrtSc Key With OneDrive
If you have OneDrive set up on your system, you can use it to store all of those screenshots automatically without having to manually save them each time after taking them using the Print Screen key mentioned above. All you need to do is enable the feature within the OneDrive settings page and then configure it according to how frequently you would like it to store those screenshots taken using the Print Screen button on a regular basis every few seconds or minutes, depending upon what frequency suits best for you needs better!
3. Use the Windows Key-PrtSc Keyboard Shortcut
This shortcut allows users quickly capture their entire desktop display at one go without having selected any area specifically before taking a screenshot, as was required when using the Print Screen button alone earlier with no additional options available! To access this feature, press down both the “Windows” & “Prtsc” keys simultaneously from the keyboard and then wait for a brief moment until the screenshot has been captured successfully onto clipboard memory, ready to be used further wherever desired soon afterward!
4. Use the Snipping Tool
The Snipping Tool has been around since Vista days and continues to provide users with a quick way of capturing everything that's visible on their computer displays at the present moment easily without any extra effort involved whatsoever during the whole process either! Simply launch the snipping tool application directly from the start menu search bar is located top right corner taskbar, followed by clicking the New option shown bottom left-hand side window pop-up opens afterward, selecting the area wanted the screenshot taken off while dragging the mouse cursor over the same region till ends completely satisfied final result.
5. Use a Third-Party Screenshot Utility
If you want more control over how and when you take screenshots, then you may want to consider using a third-party screenshot utility. These utilities allow users more options like full page capture, editing functions, and multiple ways of saving images that aren’t available through built-in tools. Some popular third-party software includes Snip & Sketch (which comes preinstalled), PicPick, and Snagit.
6. Use the Game Bar
The Game Bar is one of the quickest ways to take a screenshot in Windows 11. All you have to do is press “Windows key + G” on your keyboard, which will open up the Game Bar menu. From there, click “Yes”, this is a game” If prompted, then hit the camera icon at the top left corner of the screen or simply use “Windows key + Alt + PrtScn” on your keyboard buttons together at once – either way, it should work just fine!

7. Use Volume Up and Power Buttons on Surface Tablets
If you own one of Microsoft's Surface tablets running on Windows 10, then taking screenshots couldn't be easier – all it takes is pressing two physical buttons at once! Just hold down both the volume up button (located above the power button) and the power button simultaneously until a white flash appears, indicating that the image has been successfully captured! It's as simple as that!
8. How To Take A Screenshot On Any Device
In case none of these methods work for whatever reason – no worries because there are always other options available too, such as using specialized software programs such as Lightshot or Greenshot, which can be downloaded from the internet free of charge; they provide wide range features like annotation tools for allowing users edit their screenshots before saving them desired destination folder/drive, etc.
9. Utilize Your Printer Settings
Last but not least, another easy way to achieve the same goal without the hassle of taking screenshot involves utilizing printer settings already installed within the system itself, usually found under the devices printers section within the Control Panel window – all user needs to select 'Print Screen' option listed dropdown menu before clicking print/save complete button process accordingly!
No matter what method works best for capturing an image from your computer screen quickly and efficiently, each tip mentioned above should help make things much easier when trying out different techniques next time around. So go ahead and give them a shot and see which one fits your needs most accurately. Possible results are guaranteed every time!